

In the first part of this blog post, I mostly focused on the basic setup of a Vulkan-based graphics engine, but didn’t mention how to integrate all of this in the context of a game engine.
In this second part, I will show multiple aspects and challenges encountered while trying to integrate a Vulkan-based graphics engine in a game engine, and making it easily to switch between OpenGL and Vulkan.
Something I had to do quite early, was to find a way to access all common Vulkan objects at all times, because passing them as parameters would get impractical and confusing very quickly.
What I ended up doing worked well, but was honestly quite ugly, but I did that under time constraints:
class VkResources
{
public:
	...

	static VkResources* Inst;

	std::unique_ptr<sdl::VulkanWindow> vkWindow = nullptr;

	Instance instance;
	Surface surface;
	PhysicalDevice gpu;
	LogicalDevice device;

	Swapchain swapchain {};

	ModelCommandBuffer modelCommandBuffers;

	VkPipelineCache pipelineCache {};

protected:
	...
};
I cut some variables and functions here, but this is mostly to show what I did to solve this problem. I ended up using a singleton to ensure only one instance of the class exists. You can also see that I made custom wrappers around most Vulkan objects like VkInstance and VkSurface, this is just for convenience sake. There’s also a ModelCommandBuffer here that I’m gonna talk about later down the line.
First of, I created a Mesh class that will contain the vertex and index buffer. Vertices and indices need to first be put into a VkBuffer before being usable in any way, which is why I made a function called InitData() inside the Mesh class that takes a vector of vertices and a vector of indices as input:
void Mesh::InitData(const std::vector<Vertex>& vertices, const std::vector<std::uint32_t>& indices)
{
	SetVertices(vertices);
	SetIndices(indices);

	...
}
The two functions SetVertices() and SetIndices() simply put the data into buffers, the function also does some other operations afterwards, but it is outside the scope of this post. The Vertex struct looks like this:
struct Vertex
{
	Vec3f position  = Vec3f::zero;
	Vec3f normal    = Vec3f::zero;
	Vec2f texCoords = Vec2f::zero;
	Vec3f tangent   = Vec3f::zero;
	Vec3f bitangent = Vec3f::zero;
};
Before tackling any actual loading of model, it was important to create the Model class by itself. It is a very simple class containing a vector of meshes along with some helper functions:
class Model
{
public:
	void Destroy() const;
	[[nodiscard]] bool CmdRender(
		const CommandBuffer& commandBuffer, std::uint32_t instance = 1) const;

	[[nodiscard]] const Mesh& GetMesh(std::size_t meshIndex) const { return meshes_[meshIndex]; }
	[[nodiscard]] const std::vector<Mesh>& GetMeshes() const { return meshes_; }
	[[nodiscard]] std::size_t GetMeshCount() const { return meshes_.size(); }

private:
	std::vector<Mesh> meshes_;
};
Don’t worry about CmdRender() we’re gonna come back to it. With this, we’re ready to create out ModelManager. This step isn’t anything special, just use your favorite model loading library and then init each mesh with InitData().
The biggest aspect I purposefully didn’t mention in my previous blog post, is how the loading of textures work in Vulkan. The reason is because I had to do a lot of parallel work in order to make it work in the architecture I currently had and trying to explain all of it would’ve been out of the scope of this first post.
Originally, we used the KTX library to compress and load textures much faster, but due to internal problems with it, we had to switch to STB Image partway.
The first step was to create a TextureManager to handle the loading of images. The biggest difference from OpenGL in this aspect is that with Vulkan you work directly with the image instead of just having an index to this image, this also implies that you need to do a lot more to load and store the image, and having a TextureManager greatly facilitates such process.
On top of the VkImage being an object that you need to manage, you also need a VkImageView, a VkDeviceMemory, and a VkSampler. Since we need to keep those objects alongside the VkImage, I put all of these objects in class simply named Image. From this class I can create another child class called Image2d which will represent a 2D texture. The reason I do this is because the base class can be used for more than just 2D textures, so having a level of interface will simplify the process.
The first steps of creating the different objects shouldn’t be anything hard or too foreign, but the last step of transitioning the image layout might be a bit harder to grasp. Basically, the layout defines how the pixels of the image are organized in memory, since the default layout of putting every pixels row by row is not the most efficient, we’ll want to switch to a VK_IMAGE_LAYOUT_SHADER_READ_ONLY_OPTIMAL layout since we’ll only be using the image for the shaders.
Now that we have models and textures, we’ll need to create materials. Once again, we’ll make an interface simply called Material that will handle the basic data that will be in common with each material type.
From this, we’ll create a child class name DiffuseMaterial which will be our default type for rendering models. It looks like this:
class DiffuseMaterial : public Material
{
public:
	enum TextureMaps : std::uint8_t
	{
		DIFFUSE  = 1u << 0u,
		SPECULAR = 1u << 1u,
		NORMAL   = 1u << 2u
	};

	DiffuseMaterial(std::string_view name                       = "",
		Color4 color                                            = Color::white,
		const std::optional_const_ref<Image2d>& textureAlbedo   = std::nullopt,
		const std::optional_const_ref<Image2d>& textureSpecular = std::nullopt,
		const std::optional_const_ref<Image2d>& textureNormal   = std::nullopt);

	...

	void CreatePipeline() override;

	...

private:
	void ResetPipeline();

	Color4 color_;
	std::optional_const_ref<Image2d> diffuse_;
	std::optional_const_ref<Image2d> specular_;
	std::optional_const_ref<Image2d> normal_;

	float shininess_ = 32.0f;
};
The std::optional_const_ref is just an alias for std::optional_const_ref<std::reference_wrapper<const T>>.
Here you can see that we get the direct reference to the texture in the material, because the Image2d itself is stored in TextureManager. There’s is one for the three texture maps supported in the engine along with some values needed for the shader.
Sinced you can’t just change the content of the uniforms in a pipeline without recreating it, we will need to create one pipeline for each material, hence the CreatePipeline() and ResetPipeline() functions which will respictively create and recreate the pipeline as needed.
I’m not gonna go into details on how to pass uniforms to shaders, as it is quite a bit of work, and would almost require a whole post all by itself.
Now I’m gonna talk about the ModelCommandBuffer that I skipped earlier.
class ModelCommandBuffer
{
public:
	void Destroy();

	ModelInstanceIndex AddModelInstanceIndex(const ModelId& modelId);
	void PrepareData();

	void Clear();

	std::vector<ModelInstance>& GetModelInstances() { return modelInstances_; }

	void AddMatrix(ModelInstanceIndex index, const Mat4f& matrix);
	void SetMatrices(ModelInstanceIndex index, const std::vector<Mat4f>& matrices);
	void SetModelId(ModelInstanceIndex index, const ModelId& modelId);

private:
	//Data for gpu instancing
	std::vector<std::vector<Mat4f>> instanceMatrices_ {};
	std::vector<ModelInstance> modelInstances_ {};
};
This class is a buffer to store the models to render along with their model matrices. It is much easier to manage this way and it is cleared and rebuilt every frame.
I made the decision early on to only render using GPU instancing, which helped make the whole process much easier.
I created a sub renderer system to help with rendering different type of objects like opaque objects, transparent objects or UI elements, but I will only talk about the one I did for opaque models.
During the drawing process, I go through every element of the ModelComandBuffer and putting all of the matrices for each model in a buffer to pass alongside the vertex buffer.
The draw function for a single model looks like this:
bool ModelInstance::Draw(const CommandBuffer& commandBuffer,
	UniformHandle& uniformScene,
	const Mesh& mesh,
	const Material& material)
{
	const MaterialPipeline& materialPipeline = material.GetPipelineMaterial();
	if (!material.BindPipeline(commandBuffer)) return false;

	const GraphicsPipeline& pipeline = materialPipeline.GetPipeline();

	//Push uniforms to shader
	uniformObject_.PushUniformData(material.ExportUniformData());

	//Push texture to shader
	descriptorSet_.Push(kUboSceneHash, uniformScene);
	descriptorSet_.Push(kUboObjectHash, uniformObject_);
	descriptorSet_.PushDescriptorData(material.ExportDescriptorData());
	if (!descriptorSet_.Update(pipeline)) return false;

	descriptorSet_.BindDescriptor(commandBuffer, pipeline);

	VkBuffer vertexBuffers[] = {mesh.GetVertexBuffer(), instanceBuffer_};
	VkDeviceSize offset[]    = {0, 0};

	//Bind buffers
	vkCmdBindVertexBuffers(commandBuffer, 0, 2, vertexBuffers, offset);
	vkCmdBindIndexBuffer(commandBuffer, mesh.GetIndexBuffer(), 0, Mesh::GetIndexType());

	//Draw the instances
	vkCmdDrawIndexed(commandBuffer, mesh.GetIndexCount(), instances_, 0, 0, 0);

	return true;
}
We first bind the pipeline of the material, and then push all of the uniform data before binding the descriptor sets, and finally bind the buffers before issuing the draw command.
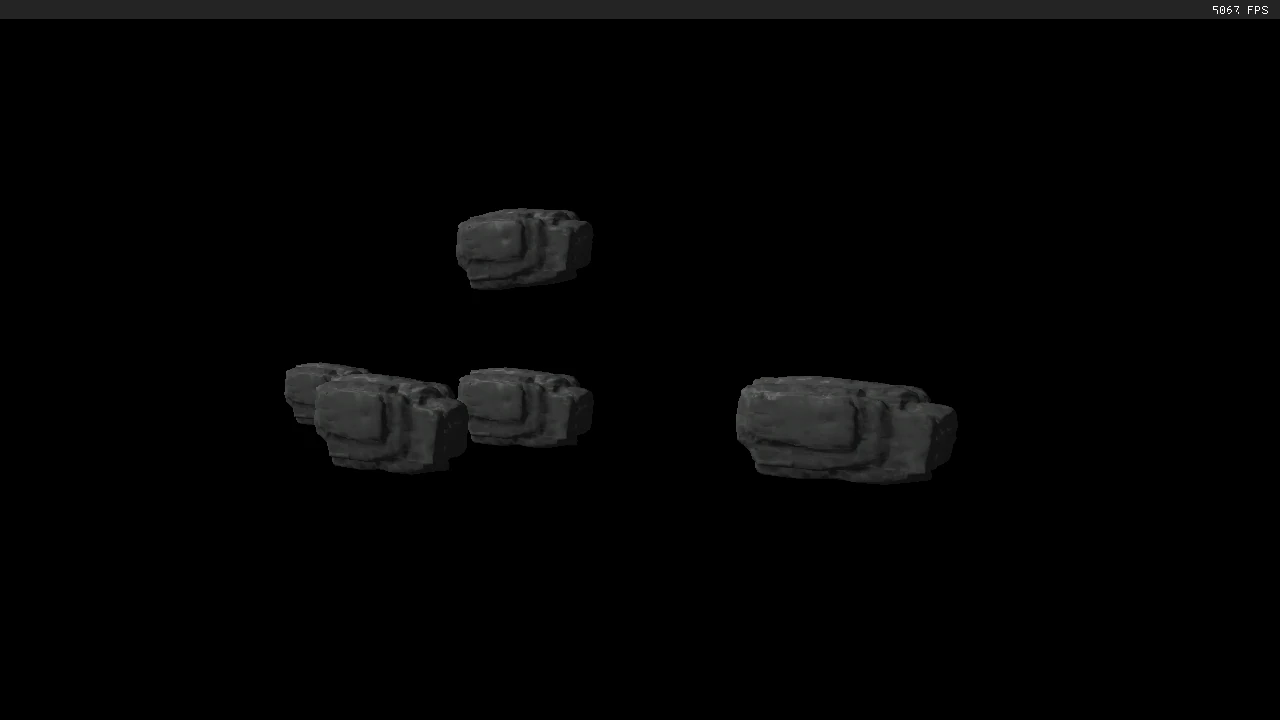
With all of this, we finally have a system that works well within a game engine, capable of loading models with their textures.
Working with Vulkan is always a great challenge as you need to have a good grasp of all of its different aspects in order to know how to correctly place each element and make them work together. Thankfully, once you’ve done it once, it’s much easier to remake it if you need, since you don’t need to go though the whole brainstorming process anymore.
In the end, after many tribulations, I managed to create a Vulkan engine that can display models correctly. The structure probably ended up being much more complex that it needed to, but as my first experience with Vulkan, I am quite satisfied with it.